
Floor Plan Reference
Refer to the floor plan . It’s what things should look like when the setup is done. North is at the BOTTOM.
The floor plan is at https://mbrobotgames.ca/mrgwp/files/MRG2023FloorPlan.pdf if this is a paper copy.
Before you start moving things into the gym, make sure the three long benches, two aluminium and one wooden, are accessible. They are heavy and navigating them around other items is a pain.
Stage Placement
The first item of business is to get the stage pieces into place on the floor before you put anything in the way of moving those large pieces. The stage should be on site already. If, as often happens, the tools for assembly of the stage are not present (they may either be in Ian’s truck or in the room under the pit area in a blue Rubbermaid Roughneck tote), place the stage sections on the floor upside down roughly where they are on the chart and place the legs in the receptacles. If the tools are present, assemble the stage and put it in place. See the section below on “Assembling the stage.”
Unloading Vehicles
Vehicle unloading and pit setup cannot be done at the same time because both use the doorway into the gym. If the trailer has arrived, proceed to unload it as explained below. If not, jump to “Setting up the Pit Area” and if the trailer has not arrived when the pit area is complete, start laying out the benches, tables and chairs as in “Main Floor Gym Setup.” Leave the rope stanchions and rope until last thing (they are at the front of the trailer).
Unloading the Trailer
Remove items from the trailer starting at the bottom of the list on the Trailer Layout page. There are dollies to assist in moving the heavier items and a special dolly for moving rings.
- T-Shirts and food area supplies go to the volunteer area inside the east doors outside the music room entrance.
- Kit Supplies and t-shirts for sale go in the gym to the area marked Robo-Critter
- Trophies and Plaques go in the gym to the area behind the stage marked office
- Tractor Pull Sled goes in the gym to the area marked Tractor Pull – No tractor pull for 2023
- Sand pails go in the gym to the area marked LiPo charging (next to SE exit doors)
- Weight crates go in the gym to the area marked Tractor Pull – Careful, they are heavy and break easily when cold- be gentle! Use a 2 wheel dolly – do not carry them! – No tractor pull for 2023
- Backdrop supports (unpainted 2 x 4’s) go against the wall in the gym near the area marked Stage
- SS Gates, electronics and 3 aluminum stands go in the gym to the area marked SuperScramble (SSR/SS L & H)
- Banners go in the gym to the area marked Stage
- Cartons of Stanchion Bases and plastic box of Stanchion Poles and Ropes go in the gym to the area marked Robo-Critter
- LFA playing fields go in the gym at the back in the area marked LFA
- NXT sample sheet goes in the gym at the back of the room near the NXT tables along with the NXT field, work lamp and Gazebo(folded up in a dk Blue bag).
- MST (Small) rings go in the gym to the area marked small rings.
- PST (Large) rings go in the gym at the back on edge where shown along with the box of hockey puck feet.
- SSA 13 parts + controller box (black plastic case) and 3 lengths of steel channel go in the gym to the area marked SuperScramble Light SSA
- 2/8′ x 16″ & 2/8′ x 8″ Aspenite and the scoreboard sheets go in the gym to the area marked Stage
- 2 x 4s and the triangular 2 x 4 assemblies go south wall of the gym to the area marked Stage
- TPM Tractor Pull goes in the gym to the area marked Tractor Pull. – No tractor pull for 2023
- DRA track (4/8′ white lengths 2/4’white lengths, 2/ 4′ black lengths and 1 Black/Yellow plastic controller case) goes on the floor between the stands to the west of the NXT field until needed (Please be careful not to bang the corners as they will be damaged easily). There will also be one box or plastic container that contains some foam and acrylic pieces.
- LMA board and tiles go at the back of the gym beside the LFA fields in the place shown on the floor plan. – No Line Maze for 2023
- Boxes containing robot measuring jigs and small kitchen scales used to weigh robots go in the hallway to the registration area.
- Container marked “Sidewinder” goes on the stands and contents are to be used to protect any cables passing over the floor where people will be walking.
Unloading Herb’s Vehicle
As items are removed from Herb’s vehicle, place a Purple label on anything that is not an easily
identifiable item. Number the stickers from 1 up as the items are removed. Also Back or Side of the car.
The following items should be in Herb’s vehicle:
- Robo-Critter playing field which is long black plastic strips with hinges plus a few small pieces
that are similar. This goes in the gym to the Robo-Critter area. - Blue fabric for the stage backdrop and draping the trophy tables. This goes in the gym to the
Stage area. - Tabletop backdrop and related items for the MRG display table. They go in the gym to the
MRG table at the far end of the display area. - Office-type items such as clipboards, paper forms and the like. They go in the gym to the office table behind the stage.
Unloading Lesley’s Vehicle
- All items go to the volunteer area in the hallway east of the gym doors, against the north wall. Lesley will arrange them.
Unloading Ian’s Vehicle
- Computer, printers and green bins go behind the stage (Office area).
- Water cooler and 3 water jugs go to the volunteer area
- Any food trays to volunteer area.
Setting up the Pit Area
The Pit Area consists of rows of chairs and tables, 9 per row, along the back wall, along the front railing and in the middle along the full length of the Mezzanine. Tables can be handed up from the floor to the upper area in the spaces above the doors. Don’t do this while anything is being unloaded through the doors! Arrange power cords spread reasonably evenly to the tables. Cover the power cables on the floor with Sidewinder yellow/black cord protectors.
Main Floor Gym Setup
Make sure the Stage pieces are in the gym and more or less in the final place before setting up the rest
of the floor area. If the Stage assembly tools (allen key, wrenches and clamps) are available the stage can be assembled at the same time as this main floor setup. See the two sections later in this document.
Use the Floor Plan linked above to lay out the aluminum on-deck benches, tables, chairs and the rope lines. Move the benches first so that they won’t get trapped in behind other items.
Playing fields will need to be assembled:
- Tractor Pull needs to be joined in the middle and tested for straightness by sliding the Plexiglass tester back and forth across the gap. Tighten once it’s correct. – No tractor pull for 2023
- SSA also comes in two parts plus the end gates are in a carton with a bag of ball bearings, a small brush and pan, dowels and teeter totter bridges. The electronics are in the plastic tool box. Place one section on two of the sawhorse-like supports and the other support under the end of the other section to assist in joining up the two sections. Once joined, move the centre support to a stable place near the middle, paying attention to the cables running from the electronics box to each end of the field. Ask Ian to assist in set up.
- The 4 LFA playing fields are shipped in two face-to-face units. Carefully disconnect the two parts of each unit and lay the fields out in order on the floor. In one corner of the playing field is a number of rectangular dots from 1 to 4 which will give you the order. The dots should be in the top left corner when the fields are laid out. Store the bolts and centre sections together against the back wall so they can be found later.
- The large rings have legs (2 hockey pucks with a steel bolt protruding) that need to be screwed in to the holes that are marked. Once they are ready lean them back against the back wall with the playing surfaces facing one another. They will be swapped with some of the small rings when the Prairie Sumo (PS type) events start. The rings with 5 holes drilled in them should have the 1 1/2″ dia circular plastic discs bolted to some of the holes. Whatever pattern is chosen, repeat exactly the same on the other playing field.
- The Mini Sumo events (MS type) are first up in the morning so please set up 8 small rings on the floor to maximize space for competitors to walk around while driving. These rings should be raised up on single pucks (that do not have bolts in them). Use the best looking (good white border) fields for the MSA competitions later in the day and the ones with three hols drilled through them for the MS3 competitions. There will be some nylon screws and spacers to be added to these fields to make the competitions more challenging.
- The Robo-Critter playing field needs to be unfolded and the two small crosses assembled from
the interlocking parts. Robo-Critter staff will set up the targets. - The two tables at the back marked NXT will need power as will the registration tables.
- Use the sidewinder black/Yellow cable protectors anywhere where the public will likely be stepping on or over electrical cables. e.g. from the stands to the line of stanchions, approx 4 places in the pit area, and between the line of stanchions and the front of the competition area.
- The folding gazebo is for the NXT in an attempt to reduce light pollution. Be gentle! Ian will assist someone to assemble this and that person should then be responsible for dismantling and returning it to it’s bag.
Assembling the Stage
With the 6 stage pieces face down, insert the legs into the square collars at the corners and sides of each piece. Most are tightened with an Allen key but there are a few that have been changed to a hex bolt. When all have legs, turn them over and arrange as shown in the Floor Plan. Fasten the sections together with the clamps. At each end of the front half, attach the stair units and clamp them as much as possible. They are a bit unstable but make them as secure as possible.
Assembling the Stage Backdrop and Scoreboard
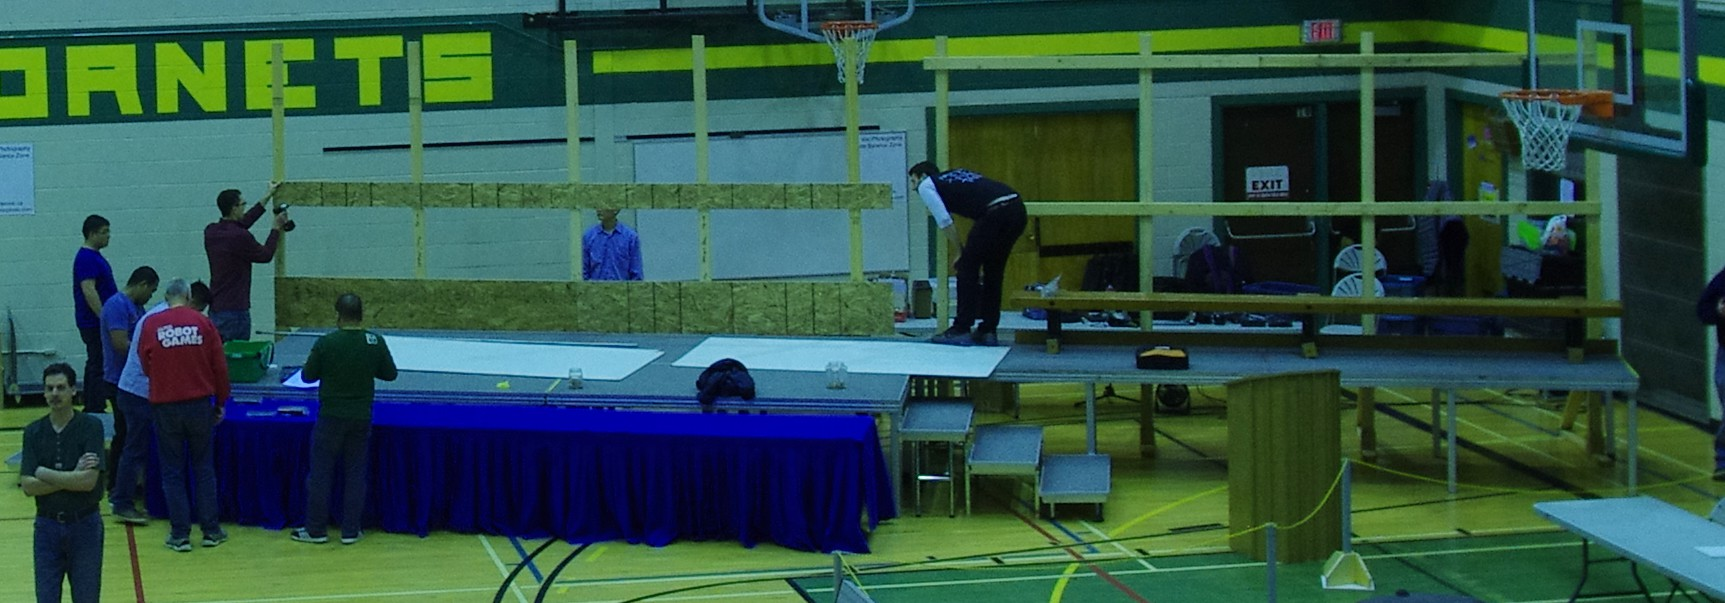
(There is a photo of the backdrop and scoreboard mostly assembled at the beginning of this guide)
The backdrop and scoreboard are assembled from the 2x4s and supports. 5 supports with Blk/Wht webbing as floor protection to the right side end(as viewed from the stands). Remaining 4 triangles to the left of them. NOTE* they do not stand up on their own so must have human support until the horizontal supports are screwed together. There are 4 horizontal 2×4 sections of which 2 have plywood connectors on one end. Screw these together so they run the length of the two right side stage sections. lift and attach to an end upright with one screw in the place marked on the stud. Attach each with one screw at each upright. Repeat with the second horizontal support then visually place the end post optically vertical and add a second screw in each end of each length. The scoreboard sheets are added to the rightmost end first with 1″ round head screws starting on the top rail with the sheet protruding high about 1″ if everything is good, the the sheet will overhang the bottom by an inch also and allow the paper sheets to be clamped to the white boards. Continue with the second sheet.
The section that supports the drapes was built at a later time and used materials that were available at the time so horizontal bracing involves two strips of Aspenite end to end just above the stage surface to avoid anyone stepping off the stage through the drapes and another higher up. They should be marked on the studs (if they are in the right location)
There are some metal “Z” brackets to attach to the tops of 4 uprights and the two lengths of EMT gets fastened together in the middle to act as a curtain rod. The EMT is passed through the pocket sewn into one end of each drape section and mounted on the hooks (most of you will be male and not have the drape hanging gene so try to get them looking like the waviness is relatively even across the whole length :). Moving the really heavy wooden bench is a four person job! It is usually found along the wall in the hallway outside the gym and goes on the right side of the stage under the scoreboards and is helpful in screwing the white boards on and setting up the curtain rod. Place the two MRG banners at the back corners of the left side of the stage and un-roll them. Drape the two tables at the front of the stage ready for the trophies. The trophies will be put out first thing game day.
Volunteer Area Setup
The volunteer space is at the East end of the hallway opposite the entrance to the music room. It will need 7 tables, about 25 chairs, one room divider and 2 or 3 coat racks.
Teardown
To tear down basically reverse the setup process. Start by removing the rope lines and then separating the stanchions from the bases. Bases go 3 in a box. Make sure the box is marked with it’s contents unless open topped or it’s otherwise obvious what the box contains. These boxes go in the front right side of the trailer first.
Then disassemble the playing fields. Remember there are dollies to assist in moving the heavier items and a special dolly for moving the PST rings 2 at a time face to face.
Tear down playing fields and load trailer in the following sequence:-
- Tractor Pull tear-down: Separate the two Tractor Pull sections. Put the weights back in the crates with the larger ones on the bottom and evenly distributed between the two crates. Include the wrench in one crate. Three track sections get loaded in the trailer early on, face down stacked together into the tracks on the floor of the trailer.(MRG Trailer) – no tractor pull for 2023 but you will need to re-stow the field in the correct place in the trailer
- Small Sumo rings tear-down: Remove nylon obstructions from MS3 fields and return to container (or give to Ian). Stack heavy fields face to face and back to back with similar. Stack all PVC fields together.(MRG Trailer)
- Large Sumo rings tear-down: unscrew puck feet and store in bin. lift two rings onto the blue cart with them face to face being careful to have only the single thickness surfaces between the carts rails. Blocks where the pucks bolt into should be ABOVE the blue rails. (MRG Trailer)
- Drag Race Track Tear-Down: Unplug the cables from the circuit boards and roll up. Remove the end stops and place in Cardboard box. Carefully remove the acrylic overhead arches from the track and place one each on either side of the Black/Yellow storage box along with cables, and power supply. Gently pull the track sections apart these go on top of the TPM track in the Trailer with the SSR track above.(MRG Trailer)
- SSR tear down: Remove the end gates and disconnect the cables from the SSA field. Separate the two main parts of the playing field. Note which end is held up by two supports when dis-assembling the playing field. Disconnect the controller box from the 110v power Return the End Gates to the SSR container along with the bag of ball bearings, dowels, teeter totter bridges, brush and pan, and controller. Fold the 3 aluminum supports and store along with the three wooden supports that were securing the track to the supports. Return Steel balls to Ian for oiling and storage.(MRG Trailer)
- NXT tear-down: Unplug and remove the work light and extension cord from the gazebo and place in the office area for Ian. Dismantle the Gazebo carefully (2 people)and place in the Dk Blue bag with the cover. NXT field gets loaded in the trailer before the LFA fields go in.(MRG Trailer)
- LFA tear-down: Re-assemble the 4 LFA playing fields into the two face-to-face units. Carefully align the two fields and reconnect them.(MRG Trailer)
- Robo-Critter tear down: The Robo-Critter playing field needs to be re-folded and the two small crosses dis-assembled. Gather the targets and put as many as possible in the holder with the remote controller in the white water bottle. Put the remaining targets in the small carton with two white plastic handles. The demonstration RC robots go in trays within translucent plastic container with wheels. Make sure the box is marked with it’s contents. (All RC stuff goes to Herb’s van.)
- Line Maze tear-down: Take the tiles out of the frame and gather them sorted by type of tile. Return them to the storage box. (This is stored at TecVoc so give to Rory Winters) – No Line Maze for 2023
- Stack all the 2 x 4’s neatly on the white shelf brackets and secure with the loose strap binding them together. Place the steel channel next to the bundle of 2 x 4’s and strap them to the trailer wall so as to stop them moving forward at stop signs!
Disassemble the Stage
Remove and fold the table drapes and stage backdrop pieces. Take apart the stage backdrop and scoreboard remembering to keep the hardware, hooks etc.
Remove the stairs and the clamps and separate the stage sections. Turn over the stage sections, loosen the square collars and remove the legs. Place the legs in the wooden holder and the clamps in the box.
Return Tables and Chairs
Return the tables and chairs to their stacks and the aluminum benches to the back wall, one on each
side of the centre line.
Loading the Trailer
Load the trailer in the order of the list on the Trailer Layout page from top to bottom. Check the boxes for a sticker with a trailer zone to know where they go.
Load the trailer as in the sequence below
- Stanchion cartons – front right secure with one strap
- SSH Frame – Front left (2019; if frame not available then stack modules with foam sheets between them to your best ability in an attempt to avoid damage) – No SSH for 2023 but you will need to re-stow it in the correct lace in the trailer
- Tractor Pull track – left side on floor face down in tracks. – No SSH for 2023 but you will need to re-stow it in the correct lace in the trailer
- White boards, signage or other large sheet goods – against trailer wall on left side
- one piece 8′ x 16″ OSB – on top of tractor Pull track
- Two pieces 8′ x 8″ OSB – above previous item
- 4 8′ x 16″ white Sintra DRA track sections – above previous item
- 2 white and 2 black 4′ x 16″ Sintra DRA track sections – above previous item
- one piece 8′ x 16″ OSB – above previous item
- PST playing fields – Right ride in cradle face to face and strapped down
- MST fields – on left side between SSB and Tractor pull fields in cradle and strap down
- SSL, SSH, DRA Totes – front centre
- Stanchion poles and rope plastic box – on floor next to side door, Light weight stop on top.
- TPM weights and Sand – next to PST rings close to LFA fields
- NXT field and practice surface – right rear
- LFA fields – Right rear and strap down
- Wood triangles with blue PST cart inside – as far forward as possible in centre but up against left side.
- Stack lumber neatly on shelf brackets and strap tightly then check that they will not loosen and slide forward on braking.
- Last is water cooler and water jugs or if there is no room then they go in the truck.
Loading Herb’s Vehicle
Load items back into Herb’s Vehicle in the reverse order of removal. Removal order is on the purple stickers which were numbered from 1 up when items were removed. Re-load from the highest numbers back down to 1. (or stack next to vehicle and tell Herb it is ready to load)